A DIY Guide For Effective Wood Staining
Staining wood is a crucial step that improves appearance while also providing protection. The wood’s structural integrity is preserved by staining, which protects it from moisture and sunlight. The natural grain and texture of the wood can be highlighted with a stain that is carefully applied to produce an attractive and richer finish.
What Is A Wood Stain?
Wood stains are paints that are used to color wood. Unlike traditional paint, which simply coats the material’s surface, wood stain penetrates the wood and interacts with its natural fibers to change the color and accentuate its unique grain pattern.
Different Types Of Wood Stains
- Gel Stains: These offer a more uniform color and are thicker. They work great on vertical surfaces and in woods that have lots of cracks and knots.
- Oil-Based Stains: These accentuate the grain pattern more clearly by penetrating the wood’s surface deeper. They smell stronger though, and they take longer to dry.
- Water-Based Stains: These stains dry fast, are easy to remove, and are not as likely to fade over time. In addition, they smell less than oil-based stains.
List Of Supplies
- Natural Wood Stain
- Sandpaper
- Shop Towels
- Wood Conditioner
- Paint Brush
- Disposable Rubber Gloves
- Sealant (if required)
- Painter’s tape (for any areas you want to keep stain-free)
Steps To Apply Wood Stain
- Use a wax and polish remover, or a paint remover to remove any dust, polish, wax, or paint.
- After that, sand the old surface to give your wood staining product a fresh, clean surface.
- Use a wet towel to wipe any dust off your perfectly sanded surface.
- Wear rubber gloves and thoroughly stir the wood stain. Since they are more concentrated near the bottom of the container or tin.
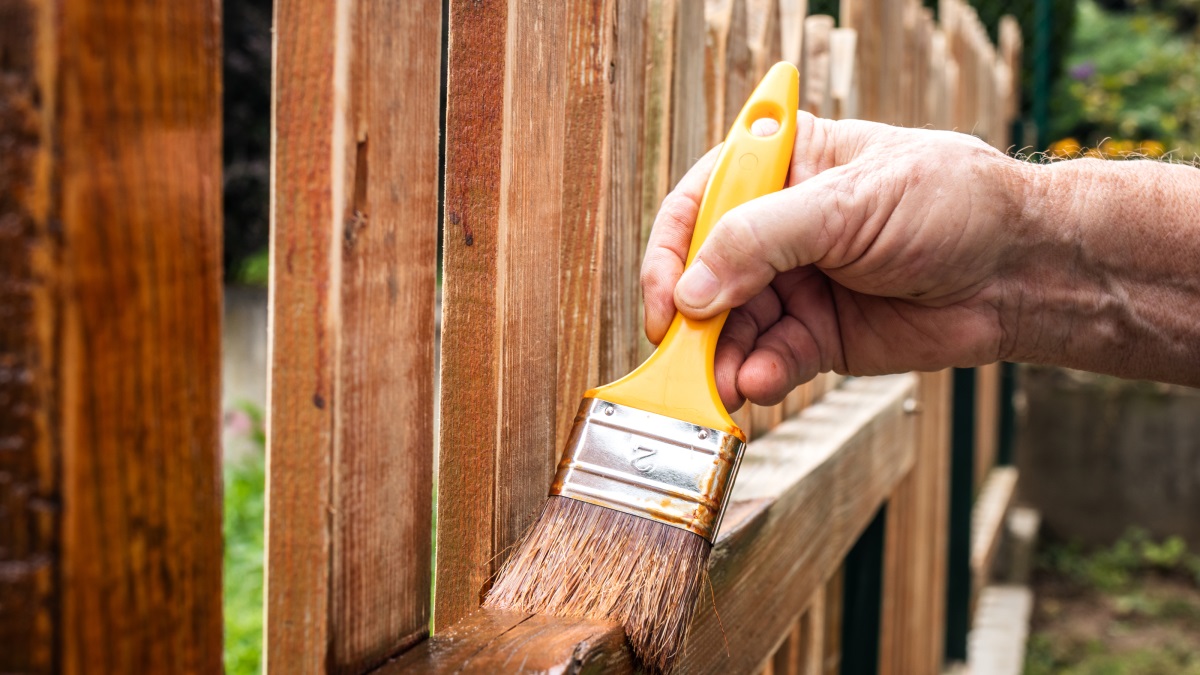
- Apply the stain using a sponge, brush, or lint-free cloth, according to the manufacturer’s directions on the tin or container.
- Apply the wood color evenly by using fluid, continuous motions that follow the grain rather than going against it.
- Follow the directions and let it dry. Generally speaking, the tone gets darker the longer you leave it.
- After you’ve reached the desired color depth, follow the directions and let it dry once more.
Sealing The Wood Stain
Sealing the wood stain [ทาสีย้อมไม้, which is the term in Thai] is an important step since it protects the wood and the stain from wear and tear. The type of sealant you select can also improve the overall appearance by giving the surface a glossy or matt finish.
Your wooden items can be protected and enhanced with the help of this rewarding DIY wood staining project. With the correct supplies and a little perseverance, you can give your wooden pieces stunning, long-lasting finishes.